This screen can be reached from the Main screen, using the "New Project from Template..." or "Add Template to Project..." options under the the File menu. It may also appear at program start, if that option is enabled.
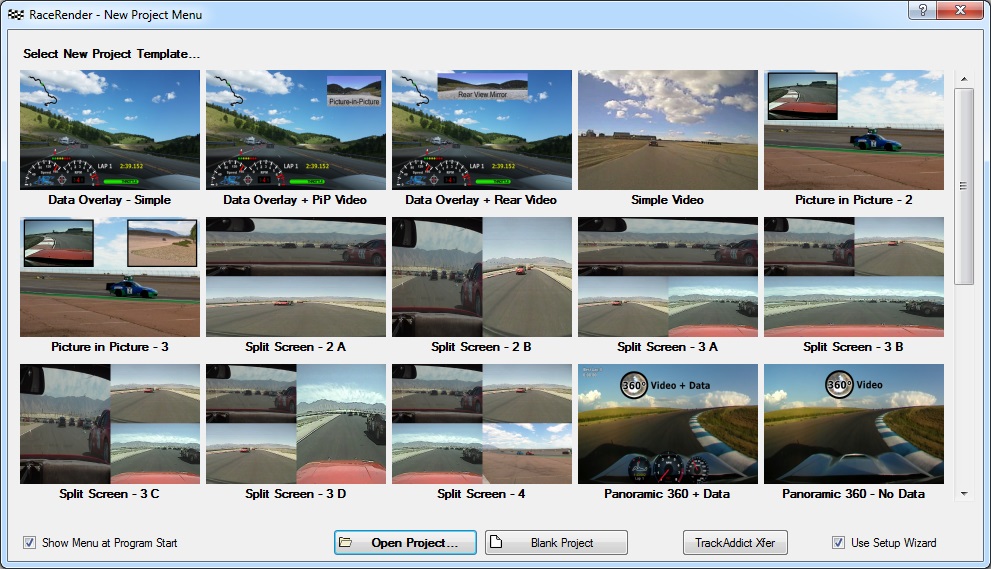
This Template Menu shows several available templates that you can apply to your project. Once applied to the project, you can further arrange, size, and configure the individual display objects.
- The menu uses template files located in the "Templates" sub-folder of your "Documents\RaceRender 3" folder.
- When it is shown on program start, or by using the "New Project from Template..." option, it will display the "New Project Menu". That offers a selection of project templates, which are template files that have names starting with "Project -".
- If using the "Add Template to Project..." option, it will simply display all templates in the folder.
- When a data file is added to the project on the Main screen, this menu will appear and display data overlay dashboard templates, which have file names starting with "Data -".
Although it is possible for you to overwrite and replace the default template files with your own creations, this should be avoided. Changes to those will likely be lost during any program updates. It is therefore recommended that your own templates use different file names than the ones installed by this program.